What? Pickled pineapple? Cucumbers are pickled, not pineapple.
That is what I thought, "pickled pineapple... ewww."
But since I have all this pineapple, I thought, "why not?
Showing posts with label Canning. Show all posts
Showing posts with label Canning. Show all posts
Sunday, March 29, 2015
Friday, March 27, 2015
Pineapple Salsa
YUMM!!!

Oh my! This is the most wonderful salsa. It is the perfect combination of sweet and heat. You really must try this..... now!
Oh my! This is the most wonderful salsa. It is the perfect combination of sweet and heat. You really must try this..... now!
Thursday, March 26, 2015
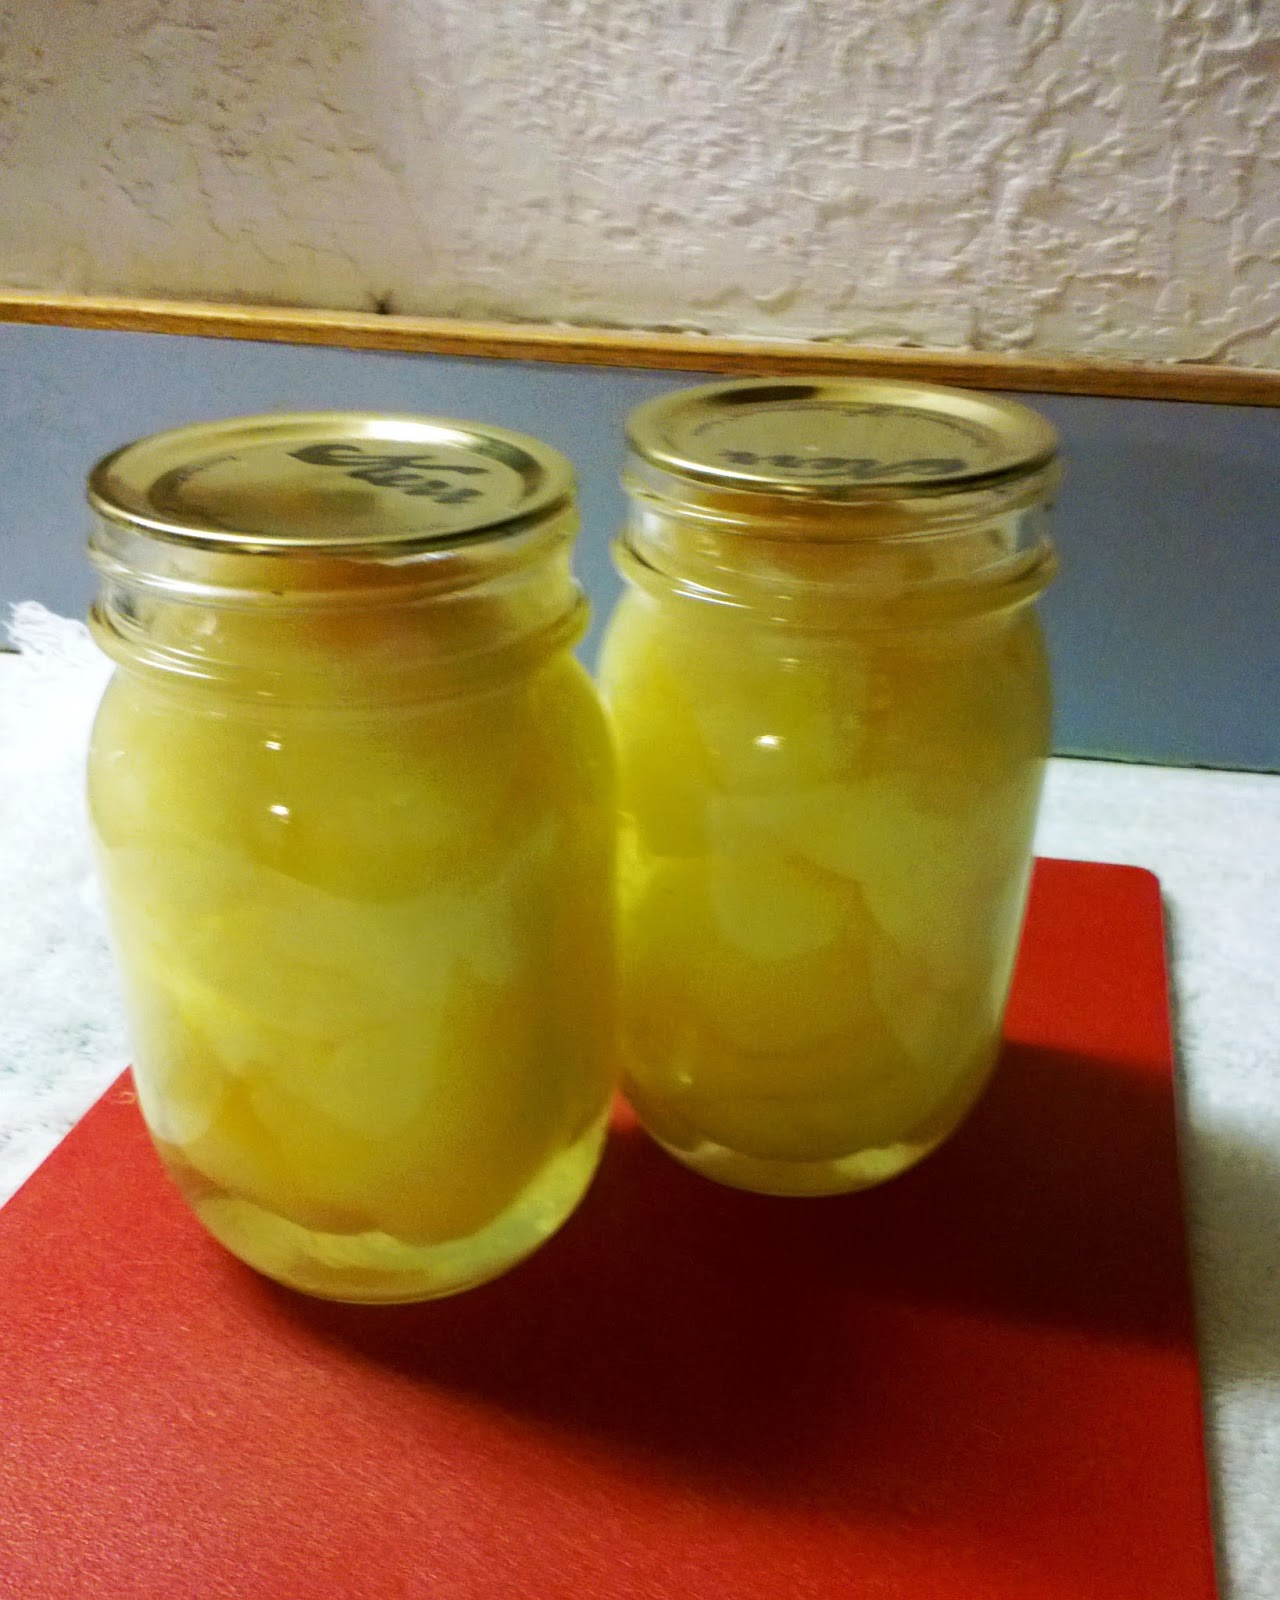
Home Canned Pineapple
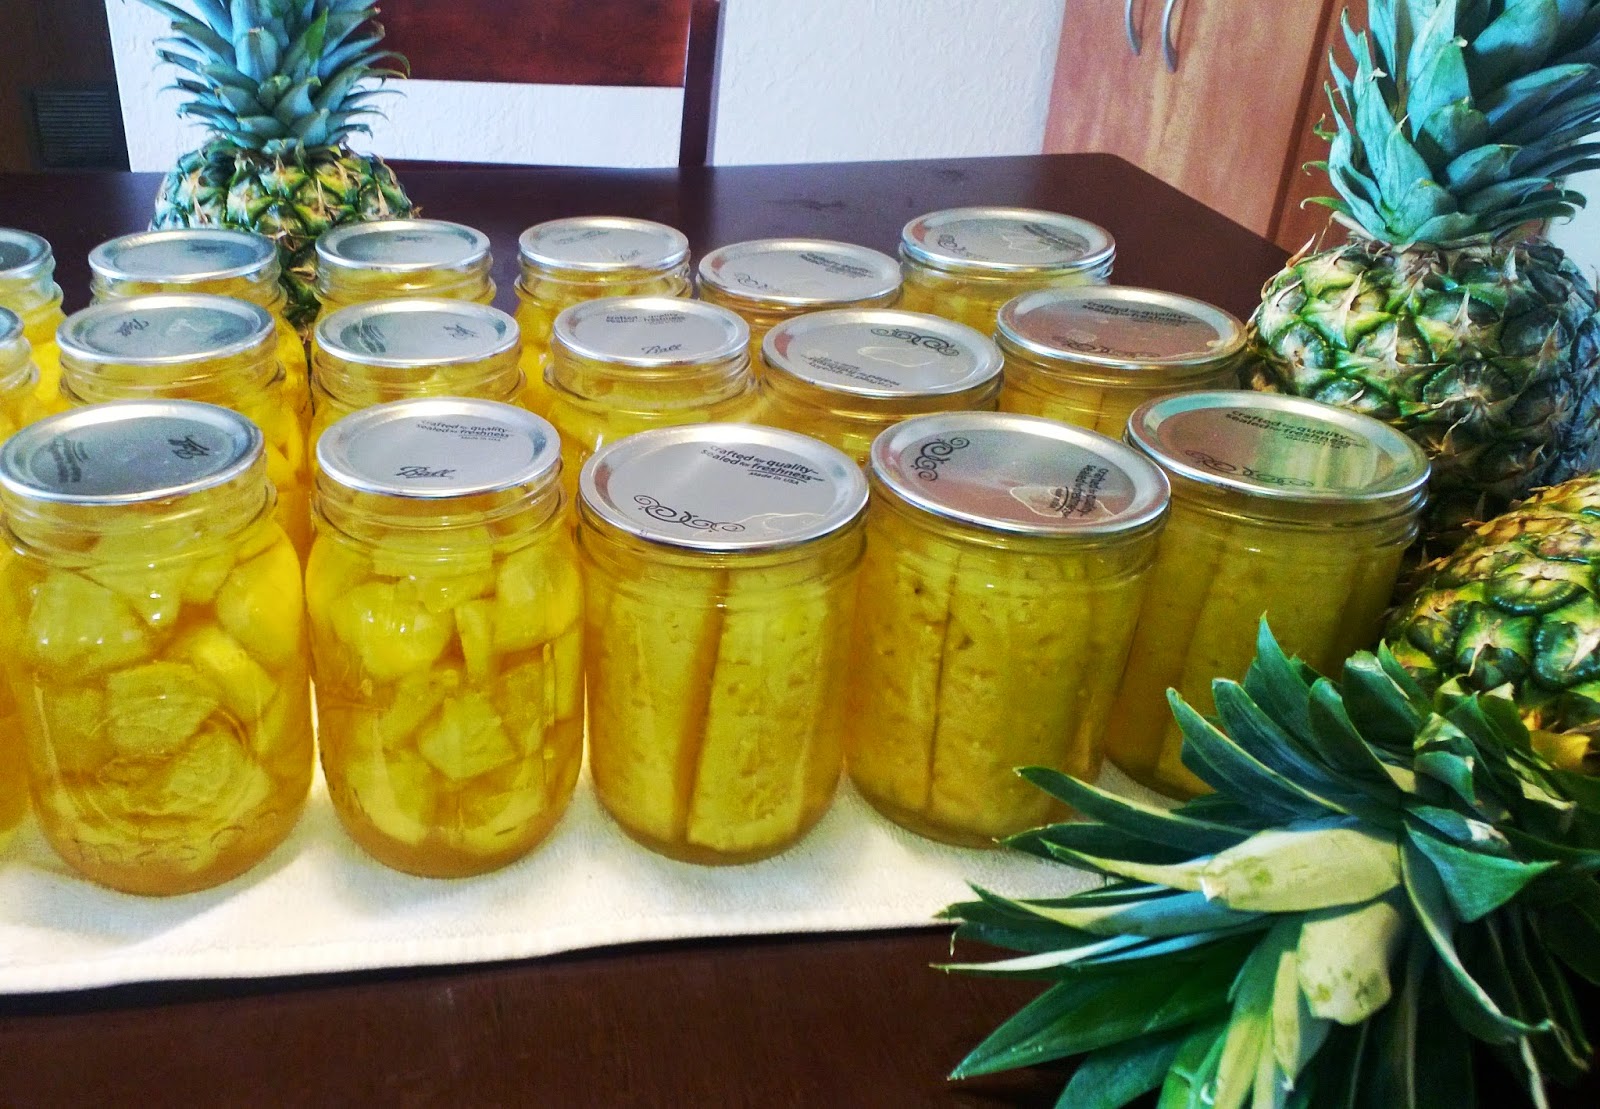
Home canned pineapple is delicious . Its tastes is far superior to the commercial canned stuff. I prefer putting up my own canned fruits
Monday, September 23, 2013
Salsa
Salsa.
We love salsa.
I knew I would have to make a lot. Six measly pints would never do.

 |
| Enough fresh vegetables for one batch. |
Then measured out everything again to double the recipe.

Next, prepared the tomatoes by boiling them for 30 seconds to loosen their skins. Then easily slipped off the skins and seeded each.

Our preference is a finely chopped salsa, not chunky. The quickest and easiest way to achieve this is with a food processor. Each vegetable was chopped individually in the food processor and then stirred together in this big tub.
 |
| I love this tub!! It is my favorite container for stirring big batches! |
To my surprise this doubled recipe made nine very tasty quarts of Zesty Salsa.

Saturday, September 7, 2013
Bread and Butter Jardiniere

Lots of Zucchini! Lots of Yellow Squash! Lots of Cucumbers!
How about a little Jardiniere, Bread and Butter style?

Jardiniere -
1. an ornamental stand for plants or flowers; a large ceramic flowerpot holder
2. cooked vegetables cut into pieces
3. lady gardener
I think these lovely canning jars are the perfect pots to hold sliced squash, cucumbers, onions, and carrots. And since I am a lady master gardener, Jardiniere it is.

Slice about 6 quarts of assorted vegetables. I cleaned out my refrigerator and made a double batch using zucchini, pattypan squash, yellow squash, pickling cucumbers, lemon cucumbers, Armenian cucumbers, slicing cucumbers, carrots, and onions.
I am quite fond of my mandolin. It quickly makes perfect 1/4" slices.
Carrots can be a bit too crunchy if pickled raw. I prefer to boil them about 5 minutes to soften them slightly.

Sprinkle canning salt over sliced vegetables. Let stand 1 1/2 hours. Drain and rinse.

Mix pickling liquid. Bring liquid to boil. Add 1/2 vegetables. Bring to boil. Turn down heat and simmer 10 minutes.

Pack hot vegetables into hot jars. Repeat with remaining vegetables.
Add Pickle Crisp to each jar. Ladle hot liquid into jars, leaving 1/2" headspace. Remove air bubbles. Process 15 minutes in boiling water canner, adjusting for altitude.

Bread and Butter Jardiniere
Makes about 9 pints
about 6 quarts sliced assorted vegetables
2/3 cup canning salt
5 cups sugar
6 cups vinegar
2 Tablespoons mustard seed
1 1/2 teaspoon celery seed
1 teaspoon tumeric
Pickle Crisp
Combine vegetables in large bowl. Sprinkle salt over vegetables. Stir to coat each slice. Cover, let stand 1 1/2 hours. Drain and rinse.
Prepare water bath canner. Heat jars in canner. Pour boiling water over lids. Keep warm until ready to fill.
In large pot combine sugar, vinegar, mustard seed, celery seed, and turmeric. Bring to boil.
Add half sliced vegetables. Bring back to boil. Lower heat and simmer 10 minutes.
Pack hot vegetables into hot jars leaving 1/2" headspace. Repeat with remaining vegetables.
Add Pickle Crisp to each jar according to package directions.
Ladle hot liquid into each jar leaving 1/2" headspace.
Wipe rims and apply lids.
Process in boiling water canner 15 minutes, adjusting for altitude.
Do not remove jars from boiling water immediately. Remove canner lid and turn off heat. Allow jars to cool naturally in water for about 5 minutes or so. Quick changes in temperature can cause liquid to sputter out from under lid, compromising the seal.
Allow jars to stand in storage about a month so flavors can blend and pickling can occur. After a month, beware, these pickles become fair game. Gobble them down as fast as you can.
See this Bread and Butter Jardiniere Pickle post and others like it at:
Tuesday with a Twist From the Farm Blog Hop The Homemaking Party The Creative Home and Garden Hop Farmgirl Friday Blog Hop The Homesteaders Blog
Thursday, September 5, 2013
Canned Tomatoes Packed in Own Juice


Tomatoes are such a versatile vegetable. This is my favorite way to put up tomatoes. I can almost taste all the yummy dishes made with these. My favorite is probably chili.
I have about 75 pounds of Roma tomatoes to make into all kinds of yummy things. Over the next few days I will be making lots of salsa and roasted tomato sauce. Look for those posts within the next week or so.
Canning tomatoes in their own juice is quite easy, but very time consuming.
Start with beautiful ripe tomatoes.
 |
| Sink Full of 20 Pounds of Roma Tomatoes |
To peel tomatoes easily, submerge in boiling water about 1 minute.

Remove from water and allow to cool a few minutes before peeling.
Once all the tomatoes have been been boiled for one minute, core and peel the tomatoes.
Discard the cores but save the peels.
 |
| Peels make yummy tomato powder. Post coming soon. |
Cut tomato in half and place in clean, sterilized jar. Pressing gently on the tomato halves will release enough juice so no other liquid will be necessary. Just keep adding tomatoes and keep pressing gently until each jar is full to 1/2" from rim.
Add 1/2 teaspoon citric acid and 1 teaspoon salt to each jar.
Citric acid is necessary to ensure there is enough acid for water bath canning.
Pour boiling water over new lids. Wipe rims with clean damp paper towel. Apply hot lid and clean ring to each jar. Process in boiling water bath for 1 hour 25 minutes, adjusting time for altitude. Yes you read that correctly, 1 hour 25 minutes for pints or quarts.
Watch water level carefully. I had to add boiling water twice to keep the water level covering the jars. Only add boiling water to canner. If cold water is added, the water will stop boiling and the processing time will have to be started again at zero after the water returns to a boil. If water level drops below the top of jars, add water and start processing time at zero after water returns to a boil. It has to be 1 hour 25 minutes of continuous boiling to process these tomatoes correctly and safely.
When processing time is complete, allow jars to cool in canner for about one hour before removing. These jars are hot all the way through and will stay that way for quite a while. The sudden temperature change caused by immediate removal from the boiling water can cause the contents to sputter out under the lids, compromising the seals. A lot of time and effort has gone into these tomatoes, what is one more hour? Be patient and let them cool in the water.
 |
| Simply Beautiful |
This Tomato post is shared at:
From the Farm Blog Hop The HomeAcre Hop Frugal Days, Sustainable Ways The Homemaking Party The Creative Home and Garden Hop Farmgirl Friday Blog Hop The Homesteaders Blog Hop Homestead Barn Hop Tuesday Garden Party
Saturday, August 17, 2013
Canned Pears - Hot or Raw Pack?
Working our way through 80 pounds of pears is time consuming. We decided to process one canner load (9 pints) of pear quarters in medium syrup. Hot packing cut fruit is not my favorite of canning chores. I would much rather make jam or sauce.
It is the actual packing of the jar with the very hot very soft fruit that makes this process so tedious. The fruit is so soft that it makes placing the piece just right in the jar difficult. It seems each time I place a piece of fruit in the jar it turns the wrong way as soon as it slips off the spoon. When I try to correct its placement, I just squish or break the fruit. It is so much easier to place cold firm fruit pieces the correct way into the jar.
But raw pack does not work with pears. I know. I have tried... more than once. No success. While the jars look prettier before going into the water bath, they are unacceptable coming out. There is liquid loss and lots of sputtering out of syrup under the lid when removing from the water bath. The jars do seal, but then I worry about the quality of the seal with the syrup layer now between the jar rim and lid.
At the end of the day when I am exhausted from the days chores I would appreciate a nice canning shortcut. As much as I would love to be lazy and raw pack my fruit, it just is not worth it.
I followed the instructions in the Ball Blue Book for canning pears.
How do you can your pears and other fruit? Hot or raw?
Enjoy this post and others like it at:
The Homesteaders Hop Simple Lives Thursday
Friday, August 16, 2013
Canning Failure.... But Tasty End Product
Saltbush Flats has been flooded with fruit!
I prepared the pears and pineapple as usual. Followed my recipe just like always.
Then failure struck... no jelling. Jam is not jam unless it sets. Never in all my experience using Sure-Jell have I ever had a set failure. This other well known brand is a disappointment. I originally purchased four boxes of that other brand pectin. Not one box gave me satisfactory results. Lesson learned. Always use Sure-Jell.
All is not lost. What started out to be pineapple pear jam turn into Pineapple Pear Honey. This is delicious and will be used on biscuits, stirred into yogurt, and blended into milkshakes. The possibilities of this honey are endless.
Sometimes failures result in a very pleasant end product.
Note: This my personal opinion based on my personal experiences. Your experiences may differ.
See this post and others like it at:
Farmgirl Friday Blog Hop #21
The last week in our former home we were processing hundreds of pounds of cherry plums. Our first week in our new ranchlet we were canning 50 pounds of peaches. Then we froze 150 lemons and limes. We followed that with 80 pounds of pears and 45 pounds of Hatch chiles. And these last few days we have been picking crabapples. So far we have 270 pounds of crabapples to make into juice, and we have only begun the crabapple harvest.
This is work. This is fun. We are loving every minute of it. I thank Rancher Roy every day for working right there beside me to accomplish our goals. Whether it is picking apples, washing fruit, or shoveling compost, we do all this together. There is a certain satisfaction that comes from knowing that we are doing all we can to provide for ourselves and our family.
We made some Pineapple Pear Jam (well almost) last night. We are still processing the pears and there is about 25 pounds remaining to be made into pear sauce tonight. Outside work is done during the day. Inside work, like canning, is done in the evening after dinner. As many of you know ranch/farm work is never done.
We all have trusted brands we like to use when we are canning our produce. I rely on the integrity of certain companies, like Ball and Sure-Jell, to provide an excellent product and results each and every time. I had in my canning supply stash two boxes of pectin that needed to be used. It was NOT the brand I usually use. But not wanting to be wasteful, I decided to use those last two boxes of pectin in this jam recipe.
 |
| Pears all ready for jam |
I prepared the pears and pineapple as usual. Followed my recipe just like always.
 |
| Jam in progress |
Then failure struck... no jelling. Jam is not jam unless it sets. Never in all my experience using Sure-Jell have I ever had a set failure. This other well known brand is a disappointment. I originally purchased four boxes of that other brand pectin. Not one box gave me satisfactory results. Lesson learned. Always use Sure-Jell.
 |
| Beautiful Yummy Pints of Pineapple Pear Honey |
All is not lost. What started out to be pineapple pear jam turn into Pineapple Pear Honey. This is delicious and will be used on biscuits, stirred into yogurt, and blended into milkshakes. The possibilities of this honey are endless.
Sometimes failures result in a very pleasant end product.
Note: This my personal opinion based on my personal experiences. Your experiences may differ.
See this post and others like it at:
Farmgirl Friday Blog Hop #21
Monday, August 12, 2013
Simply Pear Butter
Some recipes for fruit butters are so heavily laden with spices that the flavor of the fruit is lost. This is especially true with a delicate flavor like pear. We wanted a concentrated flavor of the pear, not of spices. This pear butter recipe is simple and plain with minimal spice.
Off set lid and continue to cook on low.
As you can see, the sauce has cooked down to about 1/4 to 1/3 its original volume.
Fill prepared jars and process in water bath 10 minutes, following basic water bath procedures.
 |
| Pear Butter Ingredients |
Three simple ingredients: Pear, sugar, and cinnamon.
About 10 pounds pears, 1/2 cup sugar, and 1/4 teaspoon cinnamon. Wash, quarter, core, peel, and puree the pears.
 |
| I Love My Slow Cooker |
Combine pear puree, sugar, and cinnamon and cover and cook on low in slow cooker.
 |
| And Cook... After About 2 Hours |
 |
| And Cook... After About 12 Hours |
 |
| And Cook... After About 15 Hours, Stirred |
 |
| And Cook... After About 18 Hours |
Fill prepared jars and process in water bath 10 minutes, following basic water bath procedures.
Makes about 8 half-pints.
 |
| Pretty As Can Be |
This post featured at:

This post shared at:
Homestead Barn Hop #123
Farmgirl Friday Blog Hop #120
Motivation Monday
Tuesday Garden Party
The HomeAcre Hop #32
From the Farm Blog Hop #16
This post shared at:
Homestead Barn Hop #123
Farmgirl Friday Blog Hop #120
Motivation Monday
Tuesday Garden Party
The HomeAcre Hop #32
From the Farm Blog Hop #16
Friday, August 9, 2013
Bartlett Pear Jam
 |
| Bartlett Pear Jam |
We have been blessed to acquire about 80 pounds of Bartlett pears at a very good price. I have enjoyed canning this yummy pear jam, plus pear butter, and pear sauce.
Colt in the City brought me a lot of jars he found on craigslist along with the comment, "can I trade these empty jars for full ones?"
I enjoy canning and it is satisfying to know that I am making something that my family really wants to eat, and requests more.
 |
| Chunky Pear Sauce |
Pear Jam
makes 7 half-pints
4 cups pear sauce
2 Tablespoons lime juice
1/2 teaspoon butter
1 box pectin
5 cups sugar
Prepare water bath, jars, and lids.
Wash, core, peel, and process pears in food processor to measure 4 cups chunky pear sauce. Process until almost completely smooth, but leave little bits of pear remaining.
Measure sugar in separate bowl. Set aside.
Combine pear sauce, lime juice, butter, and pectin in large sauce pot. Bring to full rolling boil, stirring constantly.
Stir in sugar all at once. Return to full rolling boil and boil 1 minute, stirring constantly.
Remove from heat and skim foam, if any.
Fill jars, wipe rims, apply lids.
Process in water bath 10 minutes (adjusting for altitude).
Here at Saltbush Flats with an altitude of 6200 feet an additional 15 minutes processing time is needed (10+15=25).
Place jars upright on towel to sit undisturbed overnight. Next morning check seals, remove rings, and wash jars.
As you can see, there are only 6 jars of Pear Jam.
Colt in the City had to have a jar delivered to him immediately along with some Pear Sauce.
This post is shared at:
Back to Basics Tuesday with a Twist The Backyard Farming Connection #43 Frugal Day, Sustainable Ways #84 Farmgirl Friday Bloghop #120 Weekly Homemaking Party The Homesteaders Hop #4 Homestead Barn Hop #123
 |
| Pear Jam |
As you can see, there are only 6 jars of Pear Jam.
Colt in the City had to have a jar delivered to him immediately along with some Pear Sauce.
This post is shared at:
Back to Basics Tuesday with a Twist The Backyard Farming Connection #43 Frugal Day, Sustainable Ways #84 Farmgirl Friday Bloghop #120 Weekly Homemaking Party The Homesteaders Hop #4 Homestead Barn Hop #123
Saturday, August 3, 2013
Bartlett Pear Sauce
 |
| Perfect Pear |
Are not pears the most luscious fruit ever?
I have been blessed with over 40 pounds of these beauties. While most are being eaten fresh, I am managing to preserve a few.

Ten pounds somehow found its way into silky smooth pear sauce. Oh my, this is delicious.

Simply quarter, core, peel, and puree the pears.

Two cups pear quarters equal about 1 cup puree.

In each food processor batch add 1/2 teaspoon Fruit Fresh. It is important that pear sauce remain very pale. I did not want it turning brown before all of the pears were processed. Blend until very smooth.
I chose not to use sugar, but pineapple, to sweeten this pear sauce. Put the pineapple through the food processor also until very smooth.

Stir pear puree, pineapple puree, and juice of 1 lime together in large pot. Bring to boil.
 |
| Fill jars and wipe rims. |
 |
| Process in water bath. |
Using very ripe pears give a smooth sauce. Using firm pears will give you grainy sauce.
While peeling and coring, the juice dripped into my hands. It was hard not to slurp up each drop of that delicious juice.
 |
| Beautiful! |
Pear Sauce
make 8 pints
10 pounds pears
Fruit Fresh
1 20 ounce can crushed pineapple
1 lime
Prepare lids, jars, and water bath canner.
Wash, quarter, core, peel, and puree pears, using Fruit Fresh in food processor.
Puree pineapple. Juice lime, and strain.
Stir together in large pan. Bring to boil, reduce heat, but keep hot.
Fill hot jars with hot sauce to within 1/2 inch of rim.
Wipe rim. Apply lid and ring.
Process in water bath for 20 minutes for pints and quarts.
Make altitude adjustments if necessary.
Allow jars to cool and sit undisturbed overnight.
Prepare jars for storage by removing rings, checking seals, and washing outside of jars.
Saltbush Flats is over 6000 feet. Everything preserved by water bath must have an additional 15 minutes processing time to ensure proper temperatures are reached.
This pear sauce was processed for 35 minutes (20 + 15 for altitude).
If you have any question about canning and altitude adjustments, refer to the Ball Blue Book for complete instructions.
*Follow up after sending a jar home with Colt in the City:
He sent this text "The pear sauce is amazing. More please."
This delicious post is being shared on the following:
From the Farm
The Homesteaders Hop
The Backyard Farming Connection Hop
Subscribe to:
Posts (Atom)